Saturday, February 24, 2018

learn and do sous vide edition

Do you sous vide?  I am brand new to the sous vide club.  My daughter got a sous vide as a wedding gift and she brought it home with her once on a visit to the farm and we made pickles and sampled some Limoncello that she had made at home.  I had been interested in having one of my own but hadn't gotten around to biting the bullet and getting it purchased.  I haven't been to any big fancy kitchen shops lately and I haven't seen them in our local stores.  Then, lo and behold just after  Christmas my sister and I spotted them in the larger Walmart in the neighboring town.  It was a different brand than the one that my daughter has and we decided that I would check out the reviews online before deciding to purchase.  A week later we were in the same neighboring town in Target and they had them too.  This time it was the same brand as my daughter's and they were marked down to save $40.  They had two left and we each bought one.

For those unfamiliar a sous vide (pronounced sue veed) is an immersion circulator.  It is a computerized heater with a pump that is placed in a pan or tub of water.  Food is added to the cooking container in plastic bags or glass jars and the sous vide warms the water to a specified temperature and holds it at that temperature while circulating the water around the bags or jars.  The food takes longer to cook, often an hour or hours, but it uses temperature not time to determine doneness.

The claim is that it can cook steak or other meats to perfection, restaurant quality even, in a bag in a pot of water with just a quick sear at the end..  I have not tried cooking meat yet but I have gotten my feet wet, pun intended, and I can share my first attempts.

The first thing I tried were hard cooked eggs.  We are big fans of deviled eggs and I am the one that brings them to our family gatherings.  I think that I have tried all of the old wives tales for how to get easy to peel eggs.  Sometimes they work and sometimes they don't.  One online sous vider promised perfectly cooked eggs that were easy to peel.  I tried them once, and the results were okay but nothing to write home about.  The yolks remained bright orange and moist and the whites were pretty tender and broke when I was trying to peel them or cut them in half but they tasted fine.  I might give them another try.    

It has been Meyer lemon season in Minnesota.  We can't grow them here but there are a few weeks about this time of year when Meyer lemons can be found in the stores.  I had bought a bunch and decided to use them in my early sous vide experiments.  First I made limoncello.  The sous vide is used to infuse the alcohol with the lemon zest which is then strained and combined with simple syrup.  Traditionally the lemons are soaked in the alcohol for weeks and the sous vide reduces that time down to two or three hours.  My daughter makes her limoncello with Everclear but she lives close to Wisconsin and can hop over the state line and get the real thing.  On my side of the state the Everclear that can be sold in Minnesota has a lower proof and so I used vodka.  It turned out pretty yummy.  Right now I have it in canning jars in my freezer.  It doesn't freeze but is icy cold when you take it out.  I am planning to pour it into a pretty bottle or decanter for serving.  The Meyer lemons give it a really nice flavor.
Meyer limoncello

Then today I used the juice from those same lemons that I had zested for the limoncello in a Meyer lemon curd.  In the past my recipe for making lemon curd involved a double boiler and constant stirring.  With the sous vide, you whisk together the juice, sugar and eggs and pour it into the bag with the cubed butter.  The bag is placed in the water and once the contents of the bag reach 160 degrees the bag can be emptied into a bowl and whisked a few times to incorporate the melted butter into the rest of the ingredients and then poured into jars.  I left the lids ajar until the curd had cooled and then refrigerated one and put the rest in the freezer.  I made a first batch to test and when it was done and wonderful I decided to use the remainder of my reserved juice to make another batch.

The bag with the cubed butter and mix ready for sous vide


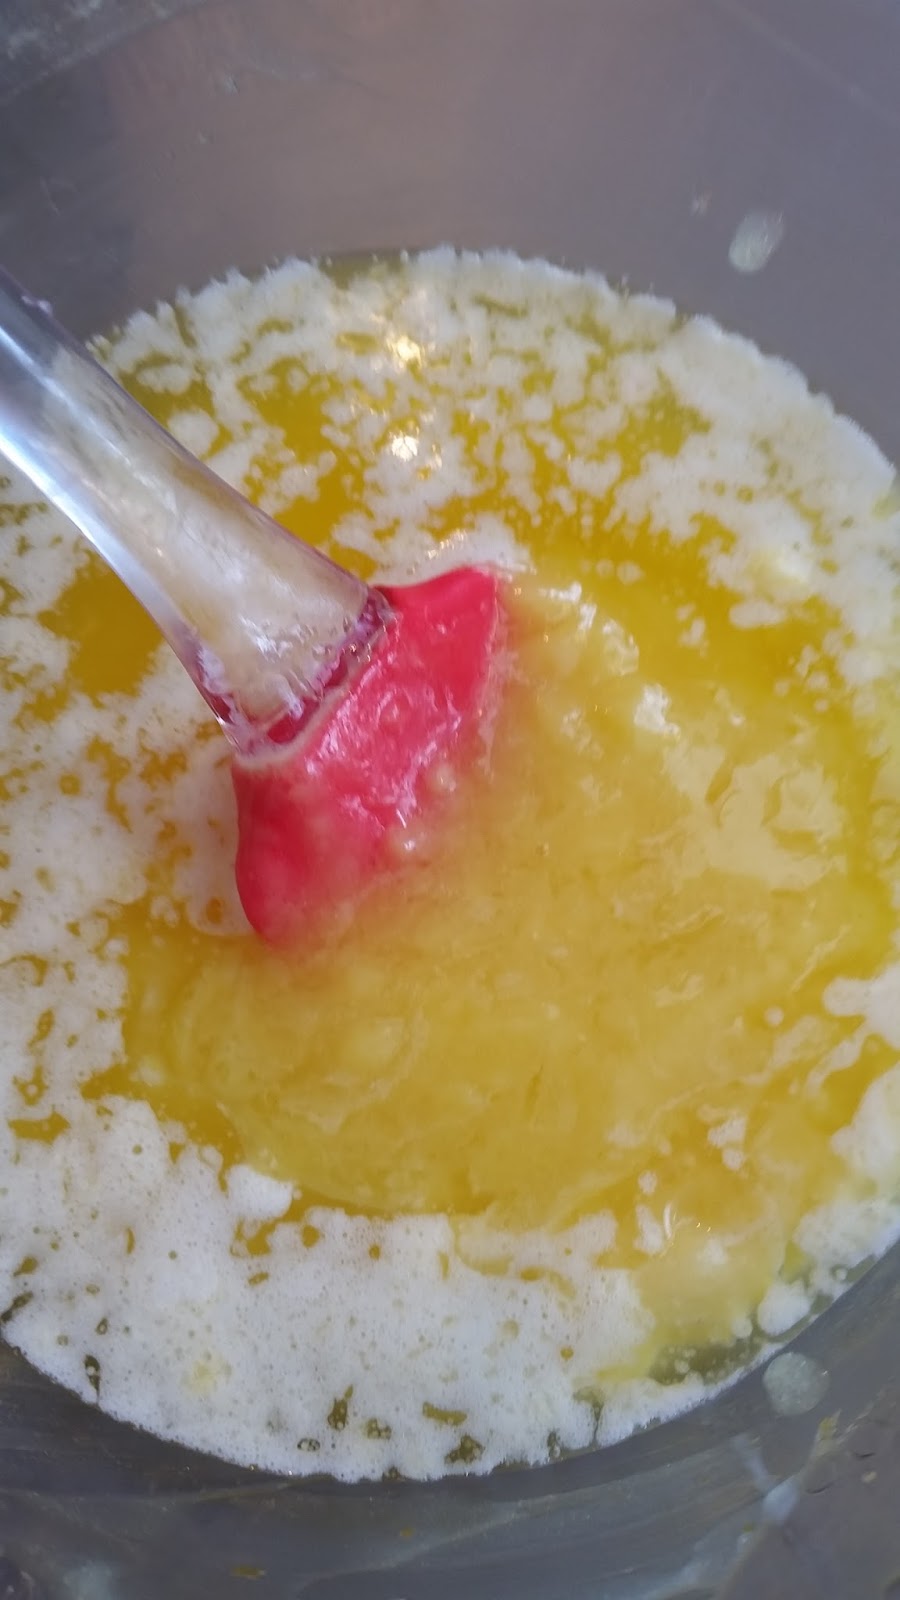
out of the bag and ready to whisk

finished lemon curd
My next attempt was a foray into homemade cheese making.  I have made homemade ricotta and homemade marscarpone in the past.  It involve careful watching of the temperature and with the sous vide I was able to put the milk in the bag and the bag in the cooking container and let the sous vide bring it to temperature without risk of scorching and constant watching.  I used goat milk to make goat cheese or chevre.  The milk is heated to temperature.  Lemon juice is added and the milk/lemon mixture is allowed to stand for ten minutes to allow the curds to form.  The mixture is then poured into a strainer for 1-2 hours and the whey is separated from the curd.  The curd is salted to taste.  The cheese ended up soft and spreadable but I think that it will firm up a bit when refrigerated.  I am considering adding herbs or garlic to the cheese for a flavored variety.  One quart of goat milk makes a cup of cheese and a couple of cups of whey.
sous vide working its magic

finished goat cheese
And supper, a salad with greens from the winter greenhouse with goat cheese, apple and pecans.


Sharing with BNOTP here.

Monday, February 12, 2018

It is finished

I have finally completed the dish pantry project that I first shared as almost finished here.  At that point I had done most of the work on the pantry itself and then discovered that the door did not fit the opening.  In hindsight the way to build the front wall that contains the door would have been to build the door frame and then the walls around it.  I considered planing off part of the door but the amount would have been significant and would probably have been more noticeable than I would have liked.  I eventually decided to hang the door from a barn door track.  This option has some challenges of its own.  Most doors on tracks are mounted on the wall so that the track covers the opening and slides fully to one side.   The door is wider than the opening so when closed it overlaps the opening and when it is open it hangs along side of the opening.

In my situation The door and the opening were sort of similar in size so no overlap.  The door opening was also centered and I had walls at both ends of the rail that limited how far the door could slide in either direction.  I also did not have very much clearance between the low ceiling and the top of the door.  So off to the store I went.  My sister went along and we were able to find a rail system that met my needs.  Although the black wrought iron rails have a definite farmhouse feel the wheel system on them is too tall for the space that I have.  I ended up buying one that was a brushed silver colored metal, maybe nickle.  It had the low profile that I needed and since I have quite a bit of metal in my adjoining kitchen already, stainless stove, shiny chrome industrial wire shelving and brushed metal under cabinet rails it fit in.

Of course it was too long for my space so back to the store for a tool to cut it.  A dremel made pretty quick work of the cut and did a nice job.  Next was figuring out how high to hang the bar.  The system that I chose had a two piece hanger that went on each end.  They needed to be level but they couldn't be attached with the bar in place.  The bar needed to be the right height so that the door would be off the floor so that it would glide properly when moved but not too high.  And the bar was a round one, not the flat ones that most rail systems have.  So there were a lot of curved surfaces to consider that were difficult to measure.  I eventually got the rail installed where I thought was the right height only to have the door a little long.  I was not about to rehang that hardware so I carried the door out to the shed and cut a little off the bottom.  Of course it was not able to hand straight so I wasn't sure how much to cut off and I could have cut a little less off than I did but I am happy with the results.

After the door was finished it was to finish up the rest of the area.  This is the main entrance to the house and it all needed a little freshening.  I removed a wallpaper boarder, new white paint on the walls, cubbies and the door and new black paint on the floor.  Here are a few after pictures.

The door

the barn door track

The floor

the cubbies

The door


Sharing with BNOTP Metamorphosis Monday here.